
A mark planned around the light
Reflective Stickers
In daylight it reads as a printed graphic. When a light source points at it, part of that light comes back toward the person holding it.
That behavior is useful when a case, a piece of gear, or a cabinet has to be picked out of a dim space. It is a visibility aid rather than a promise: what a person actually sees depends on where the light comes from, where they stand, how clean the surface is, and how simple the mark is.
Plan regulated markings separately. For a marking subject to a rule, confirm applicable material, placement, and requirement before ordering.
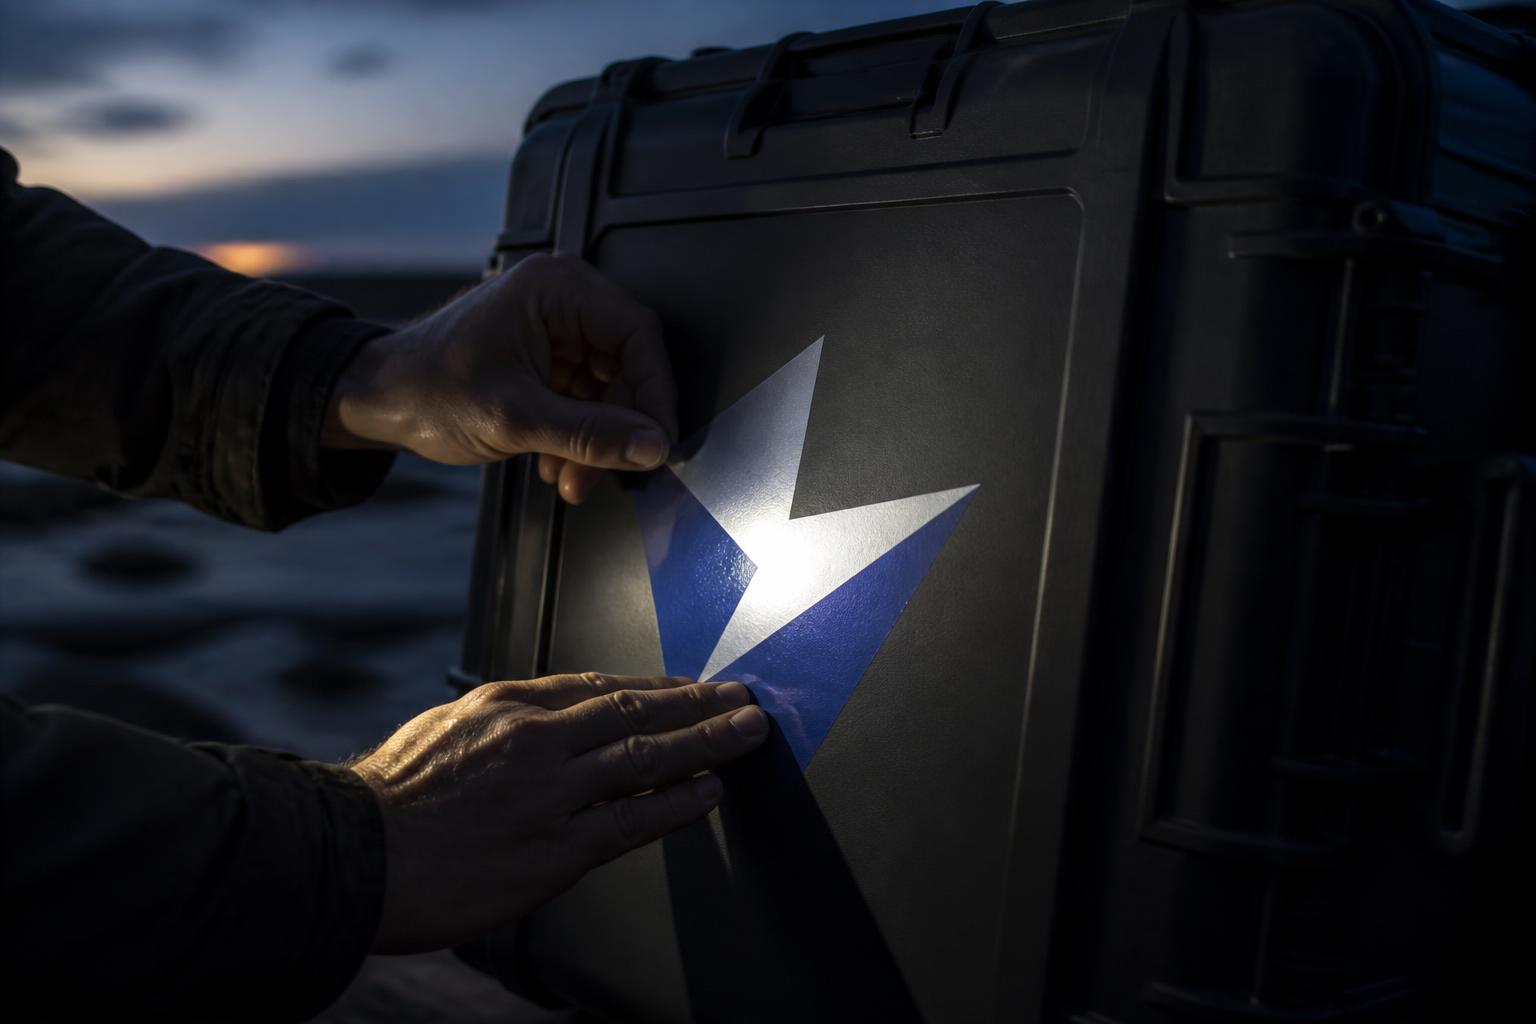
What to settle before you design
Start with the light, not the color
A reflective mark answers to incoming light and the angle it is viewed from. Decide where the light will come from and where the viewer will stand before anything else.
Keep the mark simple
Bold shapes, open spacing, and few elements read faster in dim conditions than fine lines, tight counters, or subtle tonal shifts.
Choose a smooth, clean panel
A flat, sound, non-porous area away from seams, vents, hinges, and existing labels gives the film full contact and a tidy edge.
Verify anything regulated separately
A decorative reflective graphic is not a substitute for a required marking. For a marking subject to a rule, confirm applicable material, placement, and requirement before ordering.
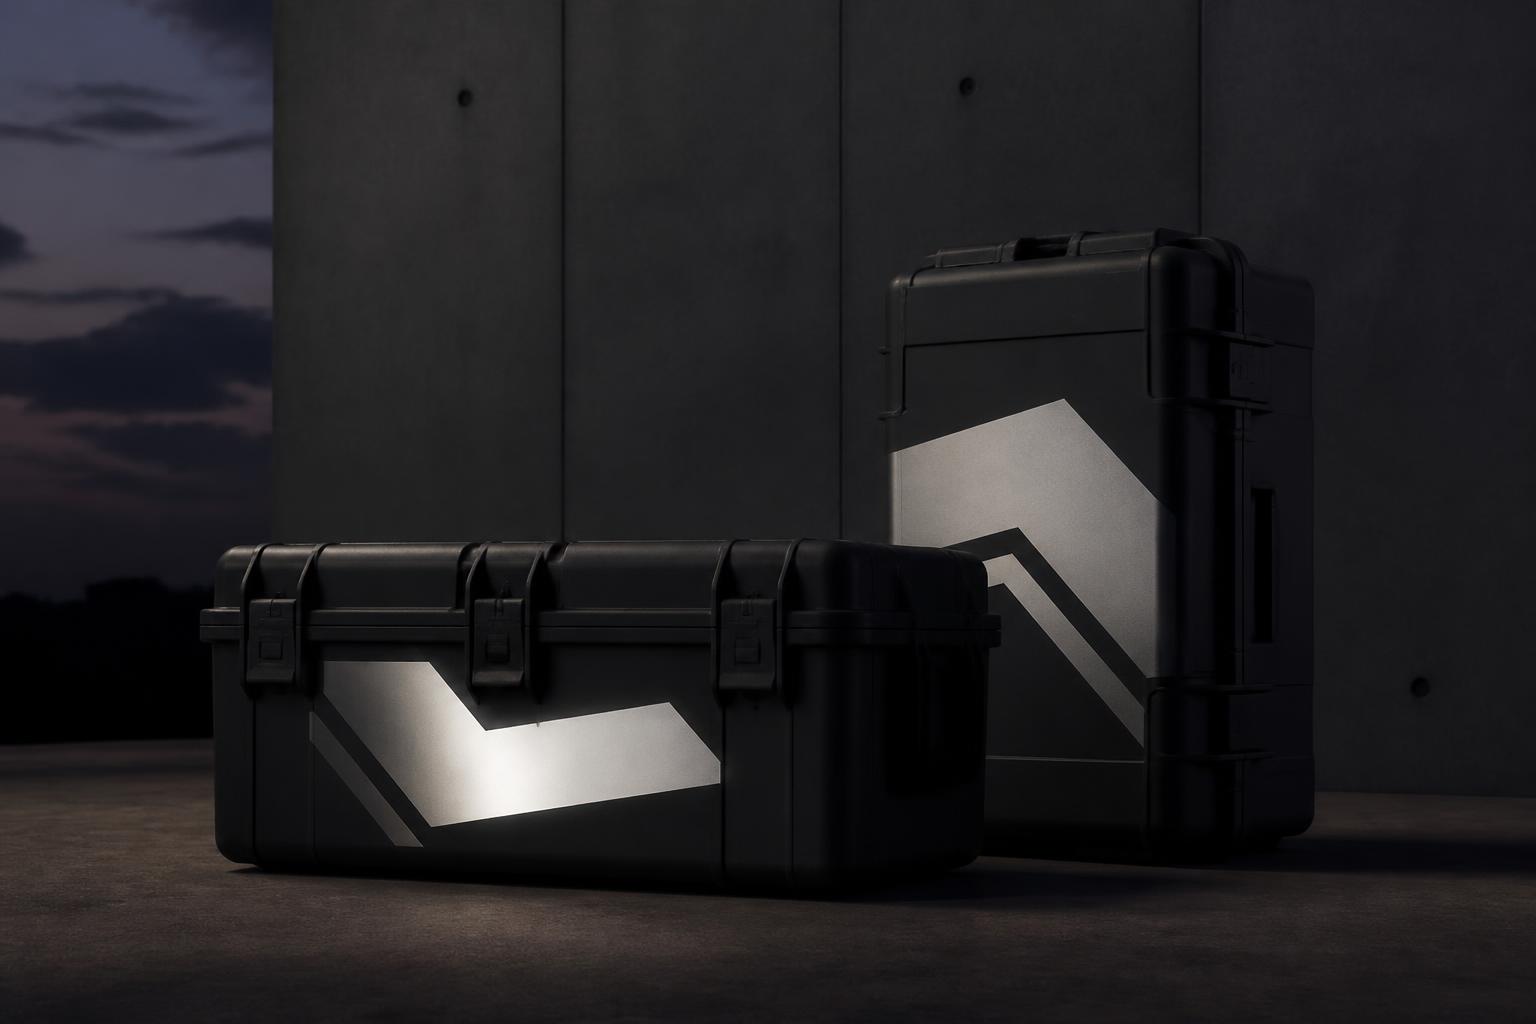
How the effect behaves
Designed to be noticed when light meets the surface.
Retroreflection is the general idea behind this kind of film: instead of scattering light in every direction the way a matte surface does, the optical layer sends much of it back toward wherever it came from. That is why the same mark can look ordinary across a room and suddenly bright to the person holding the flashlight. The effect belongs to the viewing geometry, not to the graphic itself.
Because it is directional, the design should assume an imperfect look. Someone will see it from an angle, in motion, or with other light competing nearby. Simple forms, strong contrast against the surface behind them, and a size chosen for the real viewing distance survive those conditions. Crowded layouts, thin strokes, and small elements do not.
It is worth separating this from the finishes it gets confused with. A metallic film looks bright because it mirrors light away at an angle. A fluorescent color is intense in daylight. A glow material stores light and releases it slowly once the room goes dark. Each one behaves differently, and describing which behavior you want is more useful than naming a look. Which specific constructions, colors, and sizes are configured for this product is a separate matter from how the effect works, so choose only from what the product currently offers.
Surface and application
Placement matters as much as the artwork.
The film wants a smooth, firm, non-porous panel: finished metal, cured painted surfaces, hard plastic shells, glass. Wash away dirt and film first, follow with a cleaning step suitable for that substrate, and let everything dry completely, including edges and recesses where moisture likes to sit. Apply soon afterward, so dust does not settle back down before the adhesive touches anything.
Seams, rivets, sharp transitions, vents, and tight compound curves are the places where a piece lifts first. Keep the graphic on one continuous plane where you can, break a larger design into manageable sections rather than stretching it, and never force a flat piece around a curve it does not want to follow. Align before peeling, press outward from one edge so air travels to the perimeter, and give the bond time before washing or heavy handling.
Then look at it the way it will actually be seen. Standing back and shining a light at the mark from roughly the direction a viewer would approach tells you more than any daytime preview. It also shows the limits honestly: dirt, mud, ice, scratches, a bad angle, or a surface that was never quite clean all reduce what comes back. Gentle cleaning and periodic inspection keep the mark doing its job; replacing a damaged piece is better than trusting a dull one.

Decision guide
When a reflective treatment deserves consideration
The useful question is what the mark has to do, and when. These are planning considerations only, not statements about what is configured, available, or suitable for a particular requirement.
Attention in low light
When the goal is that a mark is easier to pick out once a flashlight or headlight points at it, a reflective treatment is the option worth considering.
Daytime color
If the mark mostly needs to stand out in daylight, a strong printed color or a fluorescent film addresses that job more directly.
Light without a source
Glow materials release a soft afterglow once charged and then fade. They behave differently from a surface that returns light to its source.
Repeated vehicle or equipment bands
Where a repeating band or block pattern is expected, tape and conspicuity marking systems exist for that purpose and often carry their own requirements.
A rigid, fixed sign
For a permanent panel viewed from a distance, a rigid sign with reflective sheeting is a different construction with different planning.
A formal requirement
None of these considerations settle a regulated case. For a marking subject to a rule, confirm applicable material, placement, and requirement before ordering.
| Option | Visual behavior | Potential fit | Important consideration |
|---|---|---|---|
| Reflective sticker | Returns part of the light that strikes it back toward the light source | A simple identifying mark on gear, cases, or equipment seen in low light | The effect is directional and depends on angle, distance, cleanliness, and surface |
| Standard printed vinyl sticker | Shows color and detail by ordinary reflection of ambient light | Everyday branding, labels, and graphics judged mainly in daylight | Does not send light back toward its source the way a reflective film does |
| Fluorescent or high-visibility color film | Appears intense in daylight and overcast conditions | Marks meant to catch the eye during the day | Daytime intensity is a separate behavior from returning light at night |
| Glow-in-the-dark material | Absorbs light and emits a fading afterglow once the light is removed | Indoor orientation cues and finding something in a dark room | Needs a charging light first and the afterglow weakens over time |
| Reflective tape or conspicuity marking | Repeating bands or blocks across a long surface | Patterning on large objects where a marking system is already in use | Layout, color, and position are frequently defined by an external requirement |
| Paint or rigid sign with reflective sheeting | A structured panel or coating rather than a flexible cut graphic | Fixed signs and permanent installations | Less practical for a small custom mark or a surface that changes |
Preparation module
Plan before you place it
- Note the viewing distance and where the light will come from before you size anything.
- Keep the mark simple: bold shapes, open spacing, and generous contrast.
- Check spelling and any unit numbers, where they apply, against the source you trust.
- Outline type where appropriate and keep linked images, masks, and effects organized.
- Confirm finished dimensions, the curve of the panel, and the substrate the piece will sit on.
- Keep the graphic clear of controls, lamps, vents, hinges, existing safety labels, and required markings.
- Plan placement on equipment areas that stay reachable for inspection and cleaning.
- Clean the surface and let it dry fully; remove wax, grease, oxidation, and loose paint.
- Mark the alignment before peeling, then press outward so air moves to the perimeter.
- Look at the result in the actual environment and at the actual angle people will see it.
- Handle regulated cases separately. For a marking subject to a rule, confirm applicable material, placement, and requirement before ordering.

Small marks placed consistently across gear are easier to recognize than one large graphic in an awkward spot.
Buyer questions
Frequently asked questions
01
How does a reflective sticker work?
Its optical layer redirects part of the light that strikes it back toward the light source. Someone standing near a flashlight or a pair of headlights may see the mark look bright, while a viewer positioned well off that light axis usually sees much less return.
02
Is reflective the same as glow-in-the-dark?
No. A reflective surface needs an active light pointed at it and sends that light back toward its source. A glow material absorbs light first, then releases a weaker afterglow once the light is gone. They solve different problems.
03
Can I use a detailed logo?
You can, but simplify where you are able. Hairline rules, tiny counters, and subtle gradients are the first details to disappear in dim conditions. Bold shapes and clear spacing keep a mark recognizable at a distance and at an angle.
04
Can a reflective sticker go on a vehicle?
Smooth, sound panels on vehicles, trailers, and equipment can suit one. Remove wax and road film, plan around curves and seams, and treat any marking that has to satisfy a rule as a separate question to confirm before ordering.
05
Will it reflect from every angle?
No. The return is strongest when the viewer sits close to the direction the light travels. Angle, distance, color, dirt, scratches, and surrounding brightness all change how much a person actually perceives.
06
What about textured paint or a rough surface?
A rough, powdery, or porous surface keeps the adhesive from making full contact and can trap air or moisture under the film. A smooth substrate is the reliable choice; otherwise evaluate compatibility on a small area first.
07
How should the piece be applied?
Work on a clean, dry surface at a moderate temperature, align before peeling, and press gradually from one edge outward with a soft tool. Avoid stretching the film around a sharp compound curve, and follow the guidance for the specific material rather than assuming what works for ordinary vinyl.
08
How do I clean it?
Rinse loose grit away first, then hand-wash gently with clean water and a mild, non-abrasive detergent using a soft cloth. Rinse again and dry without dragging grit across the face. Skip abrasive pads, harsh solvents, and concentrated pressure at the edges.
09
Can I put one on a helmet or curved gear?
Possibly, if the area is smooth and the film can follow the shape without stretching, folding, or covering vents, existing labels, or safety features. Smaller pieces handle compound curves better, and the perimeter is worth inspecting after application.
10
Does a reflective sticker satisfy a rule or requirement?
Treat this page as general selection guidance, not as confirmation that a marking meets anything. Requirements can address material, color, dimensions, placement, and pattern. For a marking subject to a rule, confirm applicable material, placement, and requirement before ordering.
Related formats
Other ways to carry the same mark
Die-Cut Stickers
When the outline of the artwork is the idea and the silhouette should carry it.
View productRectangular Stickers
An ordered panel when a mark, a name, and one supporting line need to sit together.
View productHolographic Stickers
A light-reactive surface that shifts color as the viewing angle changes.
View productReady to plan the mark? Return to the Reflective Stickers product details.